Digital Photography and Art .
In principle there is no difference between film and digital photography. In both cases, light passes through a lens and shutter, and falls onto a sensor. Film uses chemicals on a support material, and more chemicals to process the exposed film; "digital" uses electronic devices and software to convert the signal into a "picture". It has always been possible to "manipulate" images with film, but this has become a lot easier by using digital processing.
Many people believe that a photograph should be a true representation of what the photographer saw. Mostly, they have no objection to correcting the colour brightness & contrast if the camera has not recorded these correctly. Also images can be cropped to emphasise the main subject of the photograph. However, some people think you can go too far, and simply "add" or "remove" objects from a photograph merely to "improve" it. Apart from the examples on this page, all the photographs on this site have only been altered by cropping or by adjusting the exposure.
In my opinion, there is nothing "wrong" about manipulation, provided you regard the finished product as a "picture" or "digital artwork" rather than a true photograph. It can be fun to experiment with software to see what a large variety of pictures you can produce. This might be changing the colours, the texture, or even combining 2 or more photographs. This page illustrates just a few of the effects that can be achieved.
Firstly: Monochrome photographs - commonly called "Black & White", although "Shades Of Grey" might be a more accurated description. This was the earliest type of film photography, which some people still enjoy. With software, it is easy to convert a digital colour photograph to monochrome. Monochrome photographers sometimes used colour filters in front of their camera lens, to improve the contrast between objects of different colour. For example, a green filter made green vegetation look lighter. Yellow or orange filters could improve the contrast between the sky and the ground. These effects can also be simulated using digital software.
![]()
|
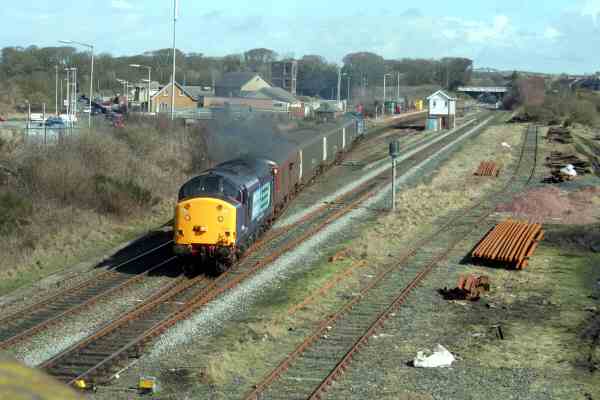
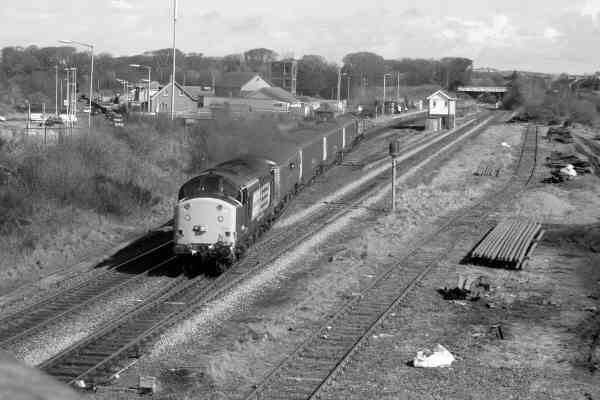
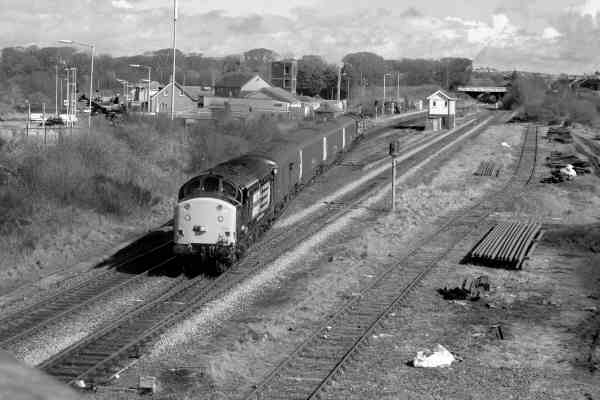
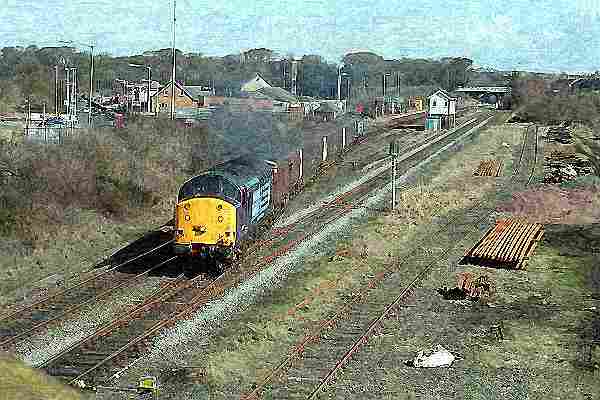
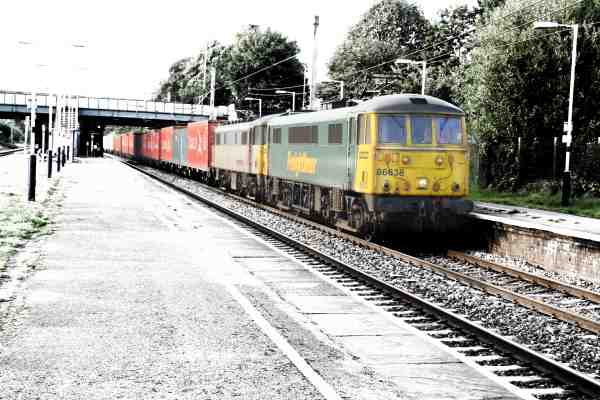
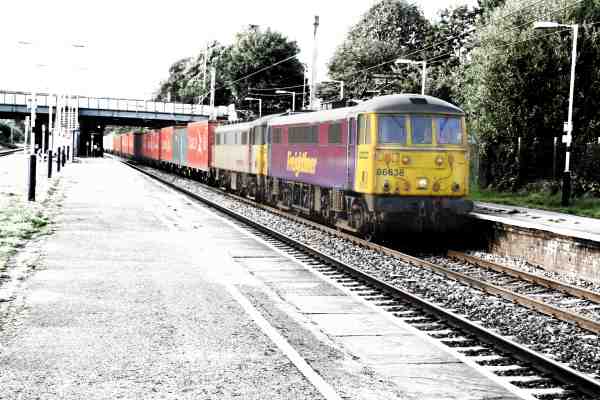
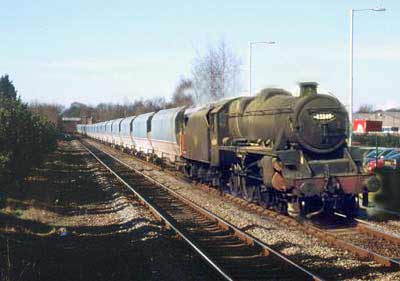
Original colour image. Maryport. |
|
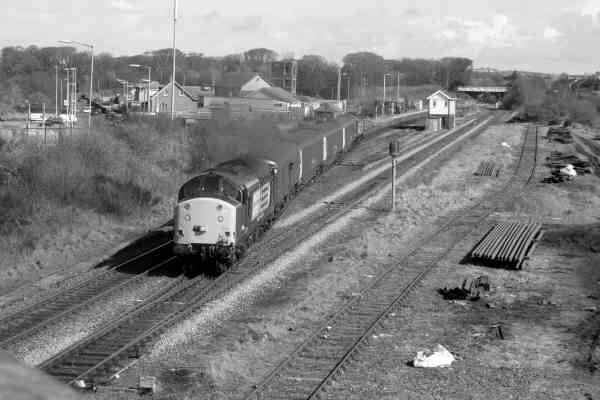
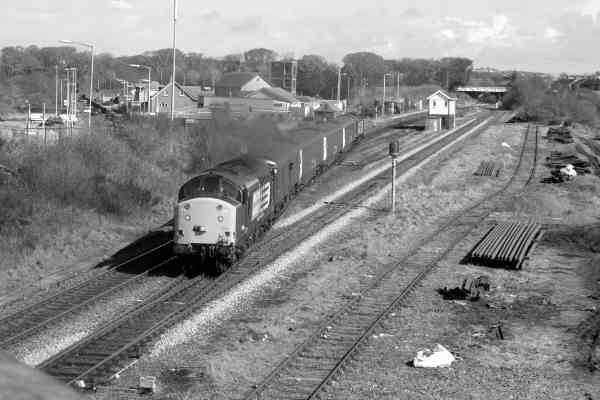
Direct conversion colour to monochrome (black & white) |
|
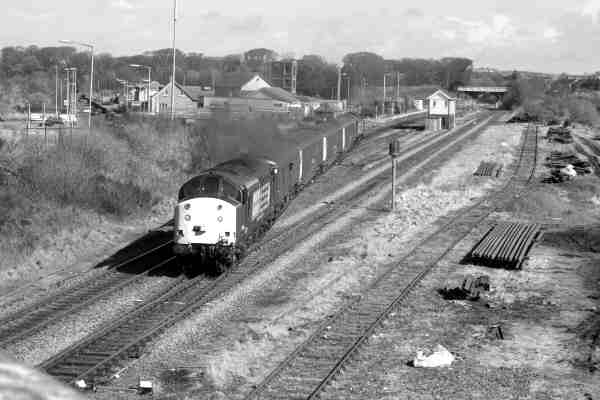
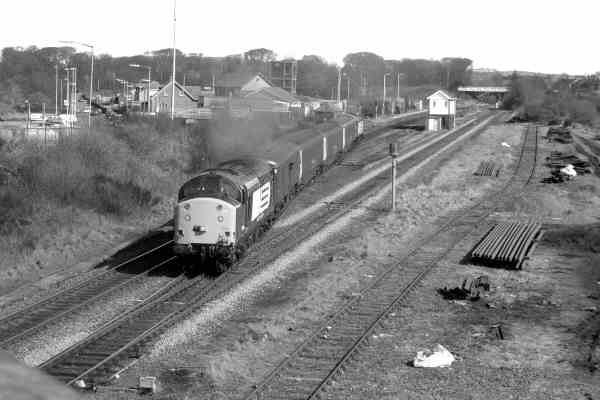
Yellow filter simulation. Note how the loco front panel looks much brighter. |
|
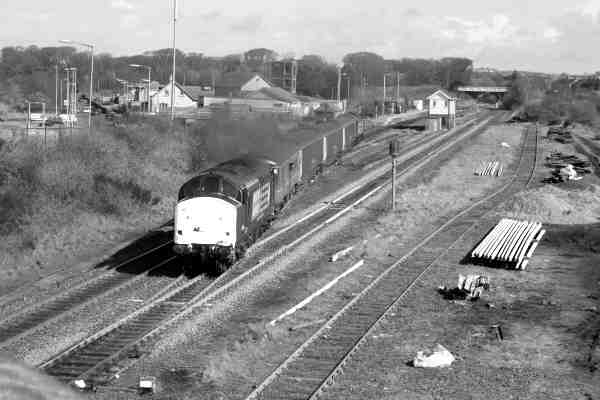
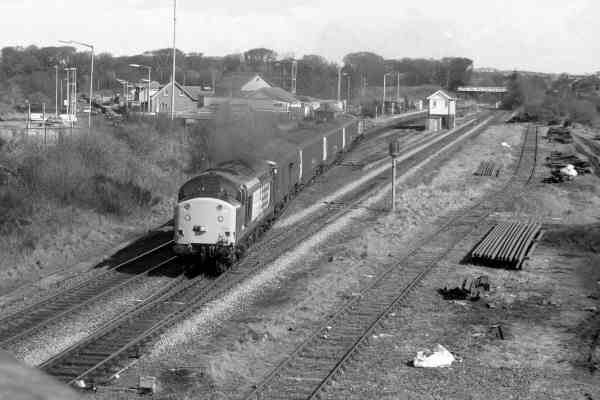
Orange filter simulation. Note the brighter colour of the rails. |
|
Red filter simulation. Only a small effect, although some brick buildings look a bit lighter. |
|
Green filter simulation. Only a small effect, but some of the vegetation looks a little brighter. |
|
Cyan filter simulation. The sky looks almost white and the clouds have become invisible. |
|
Blue filter simulation. The blue loco looks brighter, as does the sky, and the clouds have almost vanished. |
|
One you can't do easily with camera + film - "Negative Blue" filter simulation. Gives the best cloud detail in the sky, and the blue loco looks a bit darker. |
|
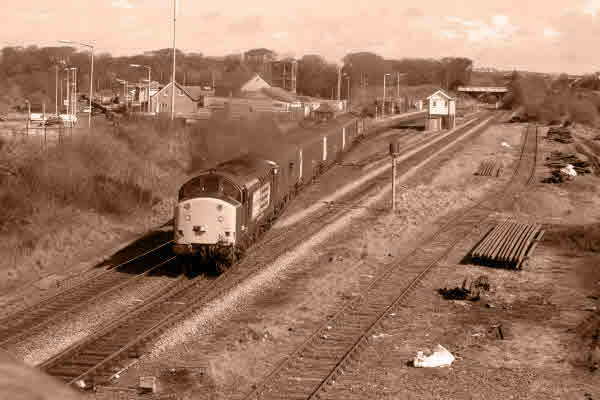
"Sepia Tone". This effect simulates the sepia (brownish) colour that used to be obtained with some old films. |
|
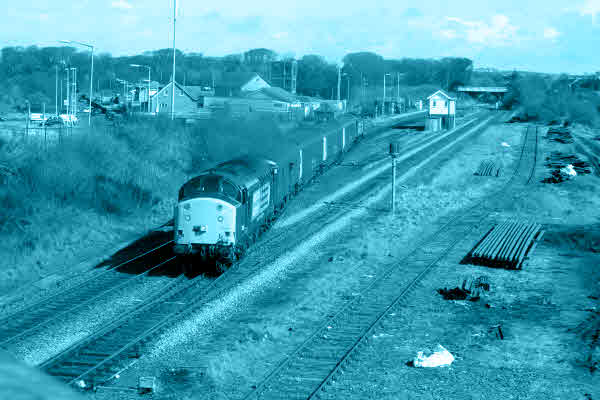
"Blue Tone". Still monochrome, but shades of blue rather than black. |
|
|
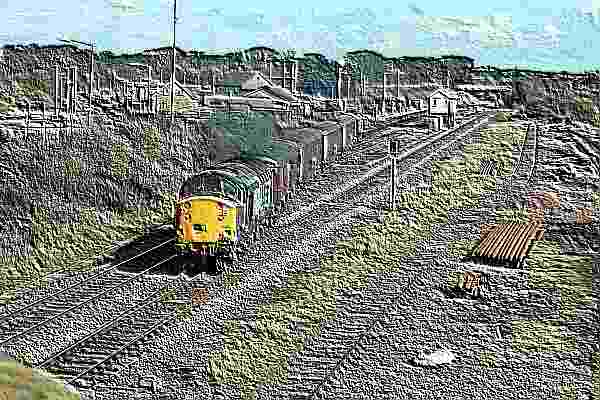
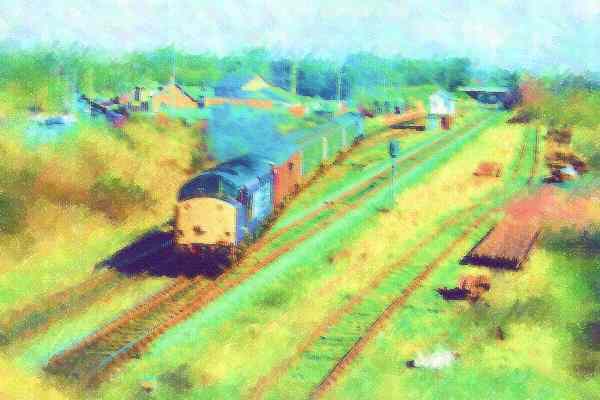
Another type of "effect" is the simulation of various styles of "painting" or "drawing". These originate from the software writer's interpretation of what a photographic image would look like if it had been produced, for example, as a pencil drawing, or an oil painting. However, the software user can usually control some of the "parameters" applied by the software, to produce a "picture" of their own choice.
|
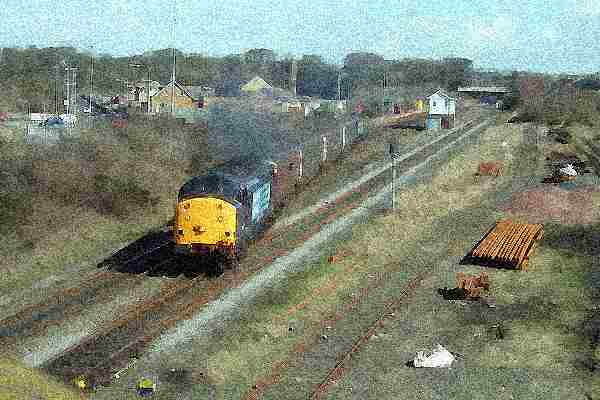
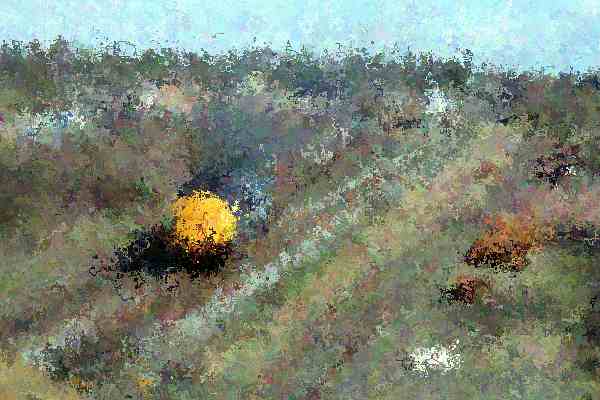
"Water Colour" painting simulation. |
|
"Oil painting" |
|
"Enamel painting" |
|
"Pastel Colours" drawing. |
|
"Coloured Chalk" drawing. |
|
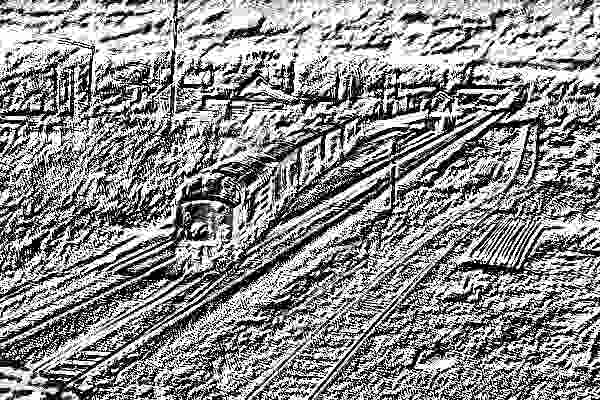
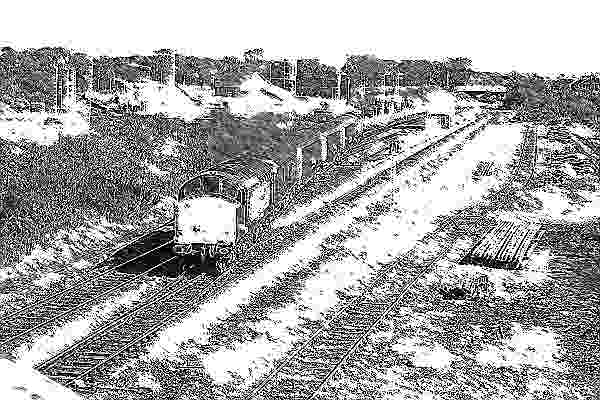
"Charcoal Drawing" |
|
"Pencil Dots Sketch" |
|
"Impressionist Style Painting" |
|
|
|
|
|
|
|
|
And now for some more drastic effects:
|
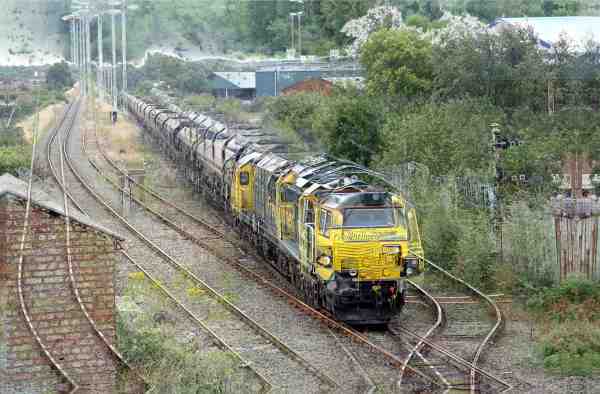
Original colour photo. Leyland |
|
Let's make some summer snow... |
|
So - you don't like green ? |
|
|
|
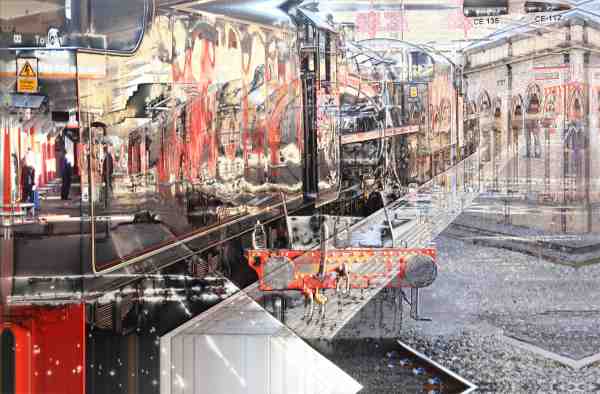
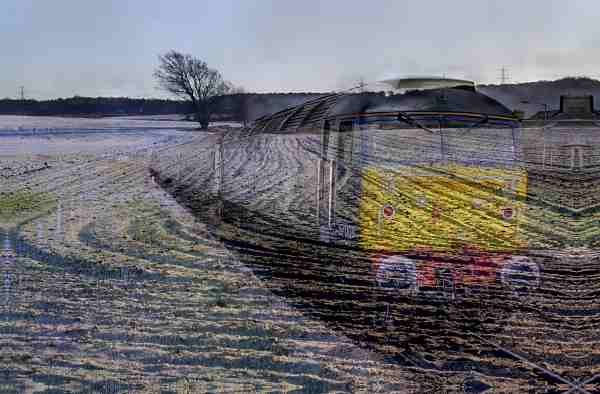
"Multiple Exposures".
|
|
Sometimes, this can look artistic; other times it looks a ghastly mess. |
|
Ghost Train 1 |
|
Ghost Train 2 |
|
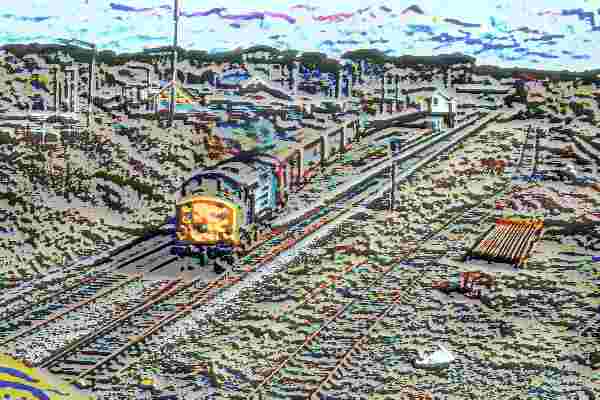
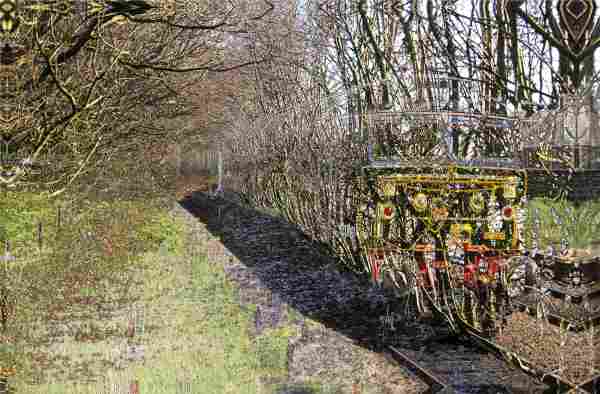
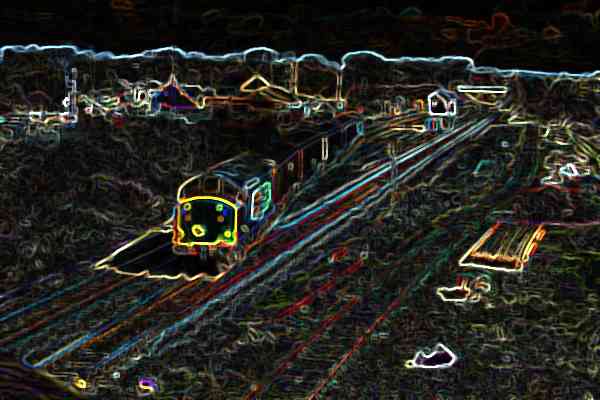
"Glowing Edges" effect. |
And here are some I made earlier. |
|
|
|
|
|
|
|
|
|
|
|
|
|
|
|
|
|
![]()